/
Working with your folders
Working with your folders
Creating and sharing of folders
Creating a folder
To select an existing directory or create a new one to share:
- Click on
 icon or on "Create folder" to create a new folder.
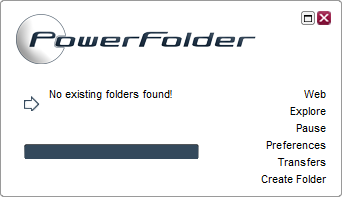
- Select any existing directory to share or create a new one via the New Directory button.
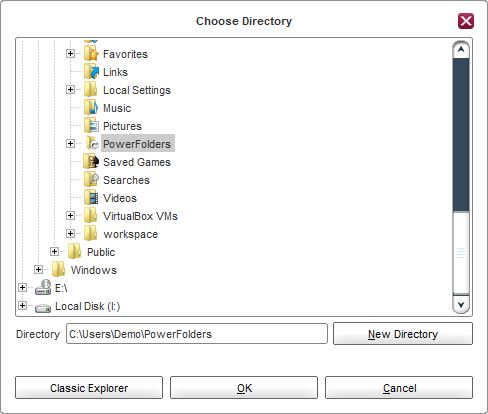
") Sharing folders on a network drive: To share folders residing on a network drive, simply enter the UNC path to the folder into the Directory field, e.g.
Sharing folders on a network drive: To share folders residing on a network drive, simply enter the UNC path to the folder into the Directory field, e.g. \\server\share_name\directory_to_share. ") Done. The folder is now ready to share with other people.
Done. The folder is now ready to share with other people.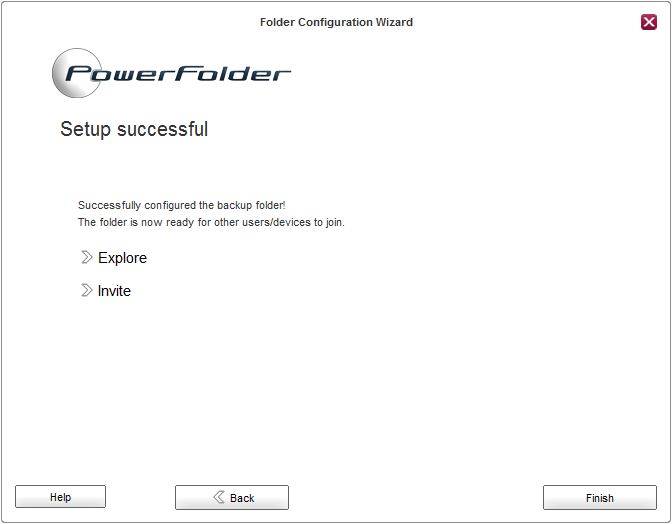
Click on Finish to close the wizard.
Sharing a folder
To invite people to a folder:
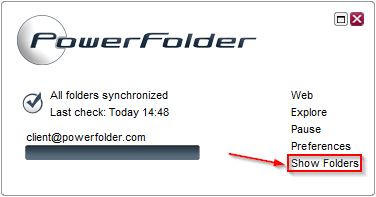
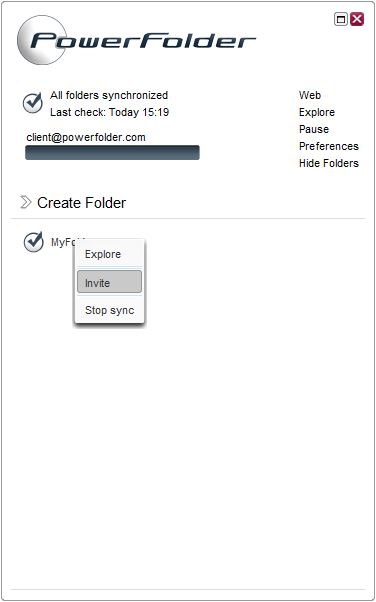
- Click on Show Folders.
- Right-click on the folder you want to invite people to. Click on Invite.
- Enter the email address / username of the person to invite. Furthermore you can select the permission the invitee should have on the selected folder.
Click on Next to continue.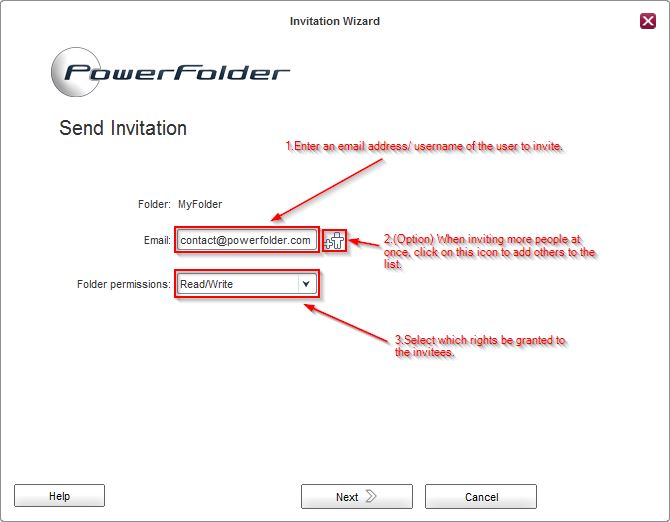
") When adding more than one person, please click on the icon next to the e-mail box. to add the current email address to a list.
When adding more than one person, please click on the icon next to the e-mail box. to add the current email address to a list. - Done. The folder will now show up in the client of the user(s) you've just invited. Additionally they will receive an email notification about this, including instructions how to get and install the client, if they don't have a client installed yet.Click on Finish if the wizard doesn't close automatically.
Synchronizing shared folders
To join a folder you've been invited to and start synchronizing it locally:
- Open the client and click on Show Folders.
- Click on the folder you've been invited to.
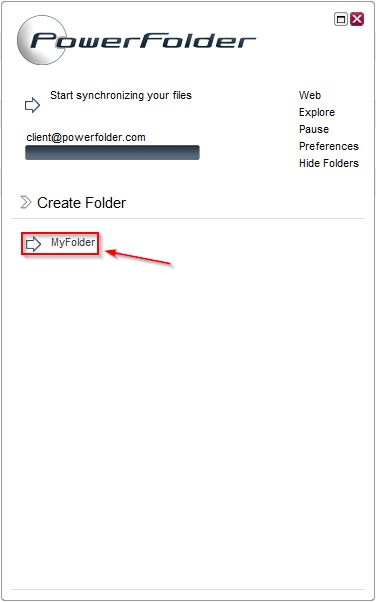 Folders available to you but not synchronized locally yet, are greyed out.
 - Now the folder setup wizard will open up. It will automatically recommend to synchronize the folder to a sub-directory of your default folder path, which is usually a directory called "PowerFolders" under your user profile. Click on Next to continue.
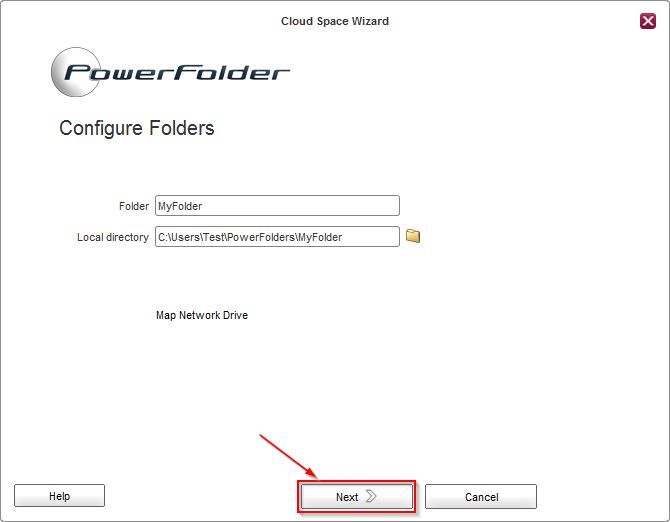 By clicking on the folder symbol
 , you can select an alternative location.
- Done. Now the folder will be automatically synchronized to your local disk. Depending on your rights on that folder, changes to files or sub-directories of that folder will be automatically synchronized to other folder members.
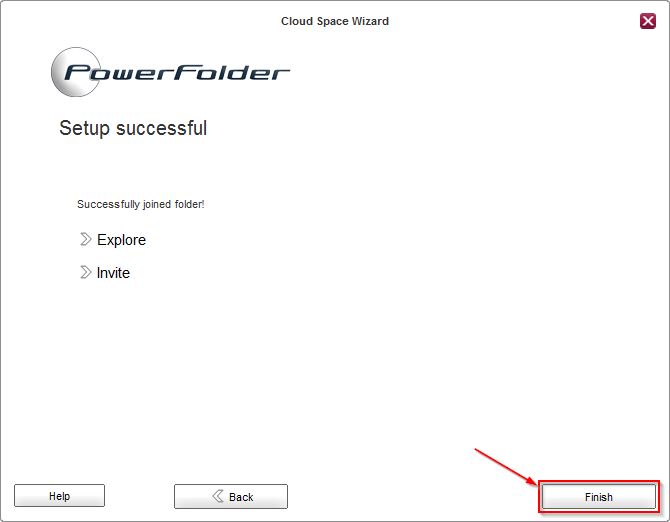
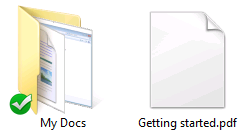
Click on Finish. Folders which are synchronized to your local disc are already marked with a check mark symbol.
Synchronization status icons
There are four different icon overlays:
- Document is in use (lock symbol)
- Ignored file (circle with bar)
- Synchronized file (check mark)
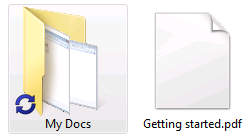
- Synchronizing file (two arrow arranged in a circle)
![]()
Those are updated automatically, if the status changes.
The Icons "Synchronized file" and "Synchronizing file" are also shown on top level Folders.
Known issues
- If there are other programs installed that use icon overlays, it can occure that the icons of PowerFolder are not displayed correctly. If possible, please uninstall those other programs.

Overview:
Related content
Managing your Folders
Managing your Folders
Read with this
PowerFolder Client 10 SP4
PowerFolder Client 10 SP4
More like this
PowerFolder Client 11 SP4
PowerFolder Client 11 SP4
More like this
PowerFolder Mobile App 10 SP3
PowerFolder Mobile App 10 SP3
More like this
PowerFolder iOS App 20 SP3
PowerFolder iOS App 20 SP3
More like this
Accessibility Information
Accessibility Information
More like this