Desktop Client Installation Guide
Client installation on Windows
This guide describes how to install PowerFolder Client on Windows based operating systems.
Download the PowerFolder installer
Download the Windows Installer for PowerFolder from our website.
Users of an in-house / on-premise installation (e.g. when your organization is running their own PowerFolder Server), you may download it from the front page of the server or when logged in with your account in the web interface via the Download Clients tab/link.
Run the PowerFolder installer
- Double-click the Windows installer.
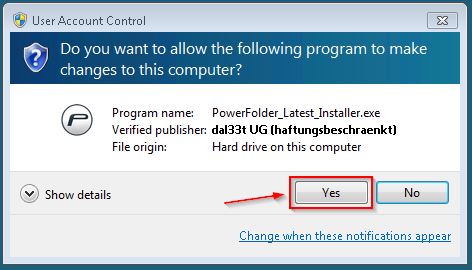
- Confirm the Windows User Account Control prompt with Yes.
Follow the setup instructions
Now you can simply click through the setup and follow the instructions.
The simple way
Click on the pictures to show them in their full size.
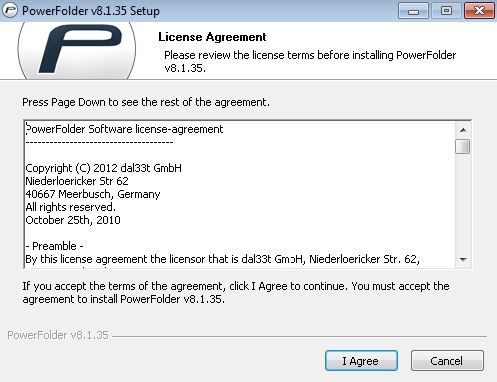
- Accept the license agreement
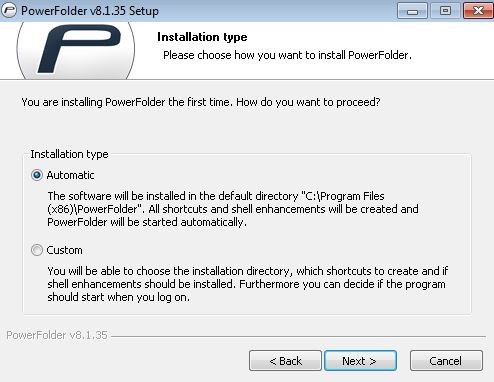
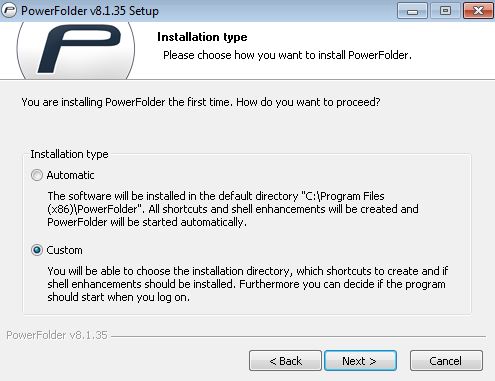
- Choose automatic installation
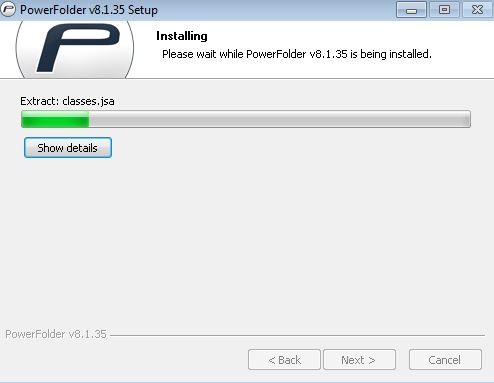
- Watch the progress...
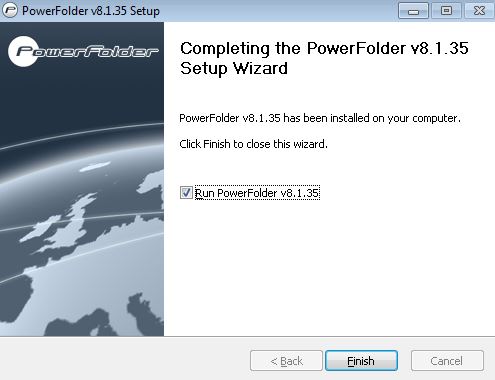
- Click Finish
Please note: Make sure you uncheck Run PowerFolder when installing PowerFolder Client from a different account (e.g. administrator account) if you intend to run the client under a different account name!
The advanced way
Click on the pictures to show them in their full size.
- Accept the license agreement
- Choose custom installation
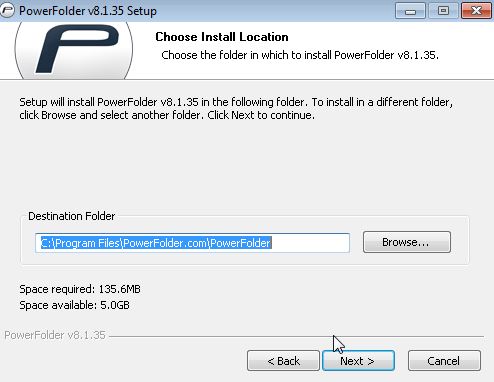
- Choose a destination folder
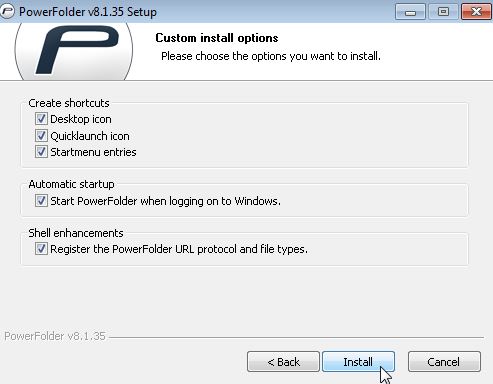
- Choose options to install
- Watch the progress...
- Click Finish
Please note: Make sure you uncheck Run PowerFolder when installing PowerFolder Client from a different account (e.g. administrator account) if you intend to run the client under a different account name!
Start PowerFolder
The installation is now complete. If you didn't choose to run the program already from the installer, you can now start it from your desktop or start menu.
Our Quick start Guide will help you setting up folders and invite other persons to them.
Client installation on Mac
This guide describes how to install PowerFolder Client on Mac OS X based operating systems.
Download the PowerFolder Mac package
Download the Mac package for PowerFolder from our website.
Users of an in-house / on-premise installation (e.g. when you organization is running their own PowerFolder Server), you may download it from the front page of the server or when logged in with your account in the web interface via the Download Clients tab/link.
Open the Mac package
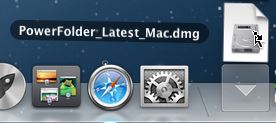
- Click on the disc image to open it.
- Wait till it has been opened.
- Move PowerFolder on the Applications shortcut to install it.
Start PowerFolder
The installation is now complete. You can now open the client using your Applications menu.
Our Quick start Guide will help you setting up folders and invite other persons to them.
Client installation on Linux
This guide describes how to install PowerFolder Client on Linux based operating systems.
Extract the Linux tarball
To describe the steps below we used the default archive manager coming with the Unity desktop on Ubuntu Linux 12.10, however the procedure is similar to other desktops like GNOME, KDE or Xfce.
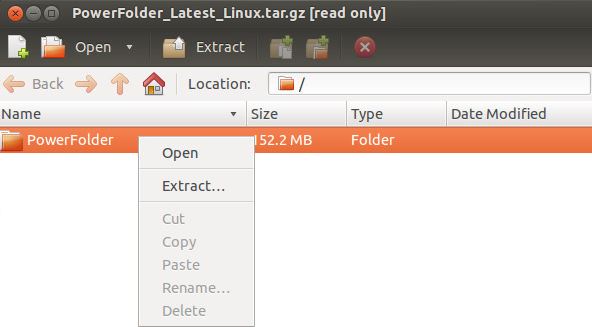
- Open the Linux tarball with the default archive manager.
- Extract the PowerFolder directory inside the tarball to a location of your choice.
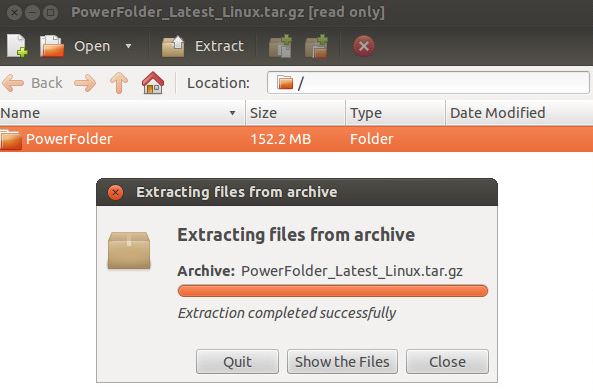
- After the tarball contents have been extracted successfully, choose Show the Files.
Install the client
To install PowerFolder system-wide:
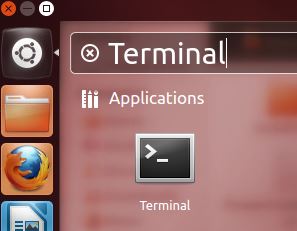
- Open a Terminal.
Enter the commands below to run the installation script. Make sure you replace /home/username>/PowerFolder with the correct path to the location where you've extracted the contents of the tarball to.
# On most Linux distributions you need to change to root first
su -
/home/username/PowerFolder/PowerFolder-Install.sh install
exit

# On Ubuntu you have to use sudo
sudo /home/username/PowerFolder/PowerFolder-Install.sh install
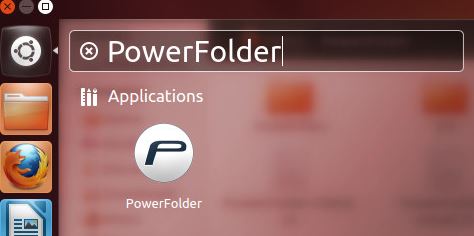
- Once completed, you can close the Terminal and search for PowerFolder using your desktop search function.
Our Quickstart Guide will help you setting up folders and invite other persons to them.

