With PowerFolder users are able to create Groups for simplified permission management and folder sharing.
On the Groups Interface there are five tabs to add information:
...
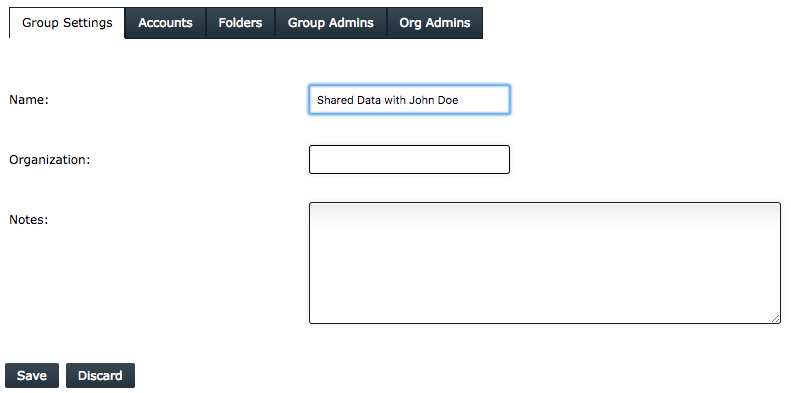
Group Settings
On the first tab you can specify basic information about the Group:
- Name
- Organization
- Notes
The name should be descriptive for the Group.
In the field Organization you can specify which Organization the Group belong to.
Notes can be any additional information you want to add.
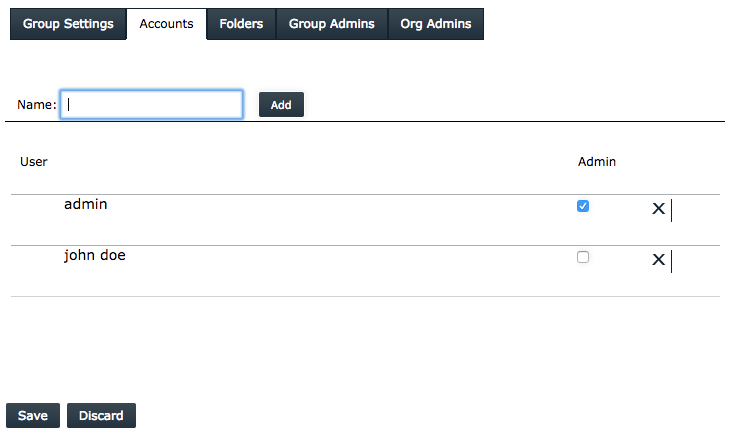
Accounts
On the Accounts tab lists all accounts that are part of the Group.
With a checkbox in every row you can grant an account the permission to administrate the group. That is to add or remove accounts from the Group, to add or remove Folders from the Groups and to alter permission to a Folder.
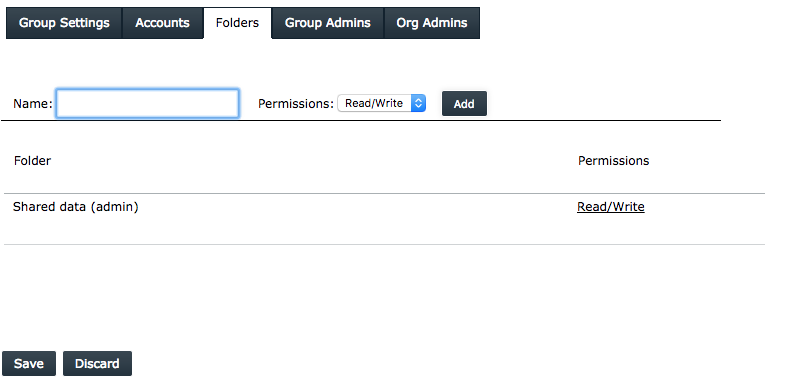
Folders
The Folders tab shows a list of the Folders that are part of the group and can be accessed by all Accounts that are member of the Group.
You may add an existing folder of your user account to this group by just entering the name of it into the field "Name:"
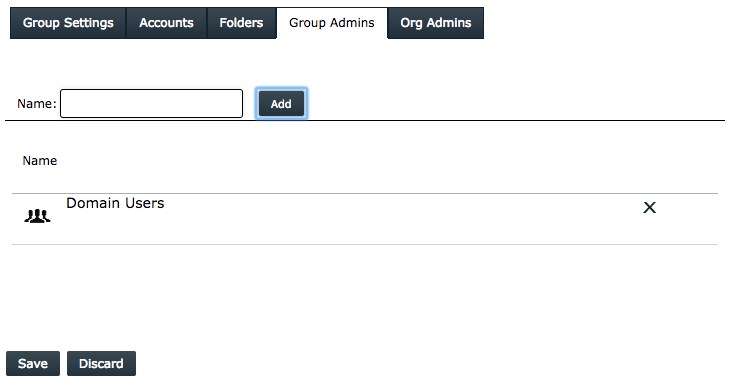
Group Admins
The Group Admins Tab lists all Groups all members of this Group have permission to administrate.
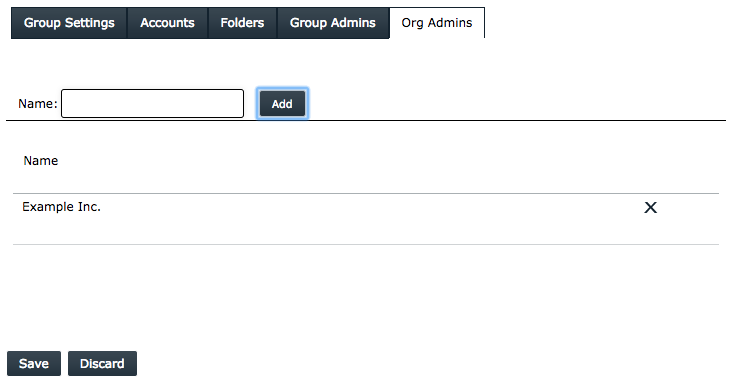
Org Admins
The Organizations specified in the Org Admins Tab can be administrated by the members of this Group.
 As a user, you have the possibility to create groups with users who will have access to the same folders.
This function helps you to divide many files into user groups.
It is generally recommended to divide your folders or rights structure into groups only when you have 8 or more users. To create a group open the user account overview and switch to the Groups tab.
Creating groups
Press the plus button ![]() there to open the group creation dialog.
there to open the group creation dialog.
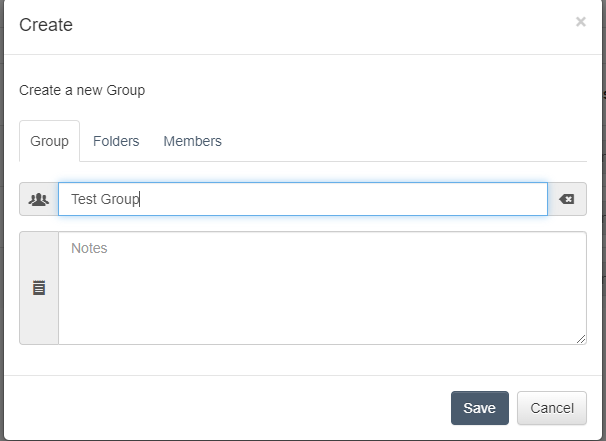
First you need to give the group a name and optionally a description.
In the folder tab you can create folders that will be shared with the group. Alternatively, you can use existing folders.
On the Members tab you can add existing user accounts to the group.
Additionally, you can give administrative permission to another user so that they can also add or delete new folders and members of the group.
Editing groups
After you press Save, the group will appear in the list.
Now you can press on the group name to further edit the group.
Now that the group exists, you can also store an avatar to easily distinguish which group it is or for what purpose it was created.
Assigning Folder
Assign folders or the users can also do that.
Members
Members can be added here. (a new user cannot be created)