This guide describes how to handle your folders and files in web portal. Folderlist
After you sign in you are instantly redirected to your folderlist where you can create new folders, navigate inside them or upload files. 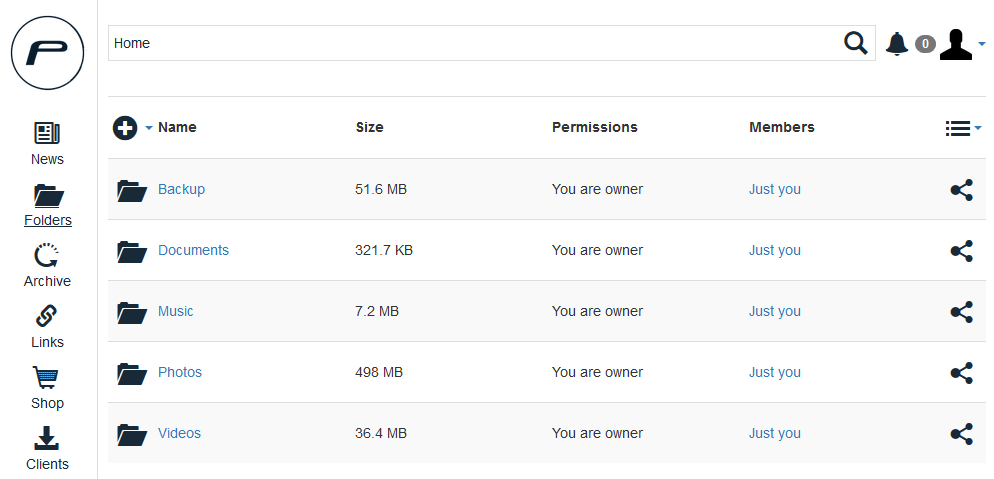
Creating a folder
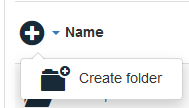
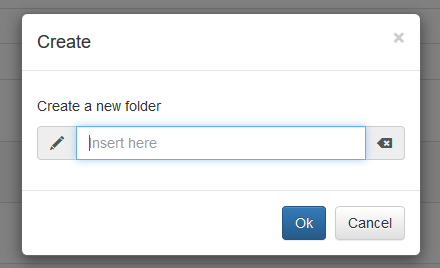
In your folder list you can create new folders that you can share individually. Since sharing a complete folder is only possible for your top level folder it is recommended that you split your files in different folders instead of uploading all your files inside a single folder. To create a new folder just press the  and enter a name for the folder in the dialog that opens afterwards. and enter a name for the folder in the dialog that opens afterwards.
If your folder got created successfully it will appear in your folder list and is ready to use. A small success message shows up at the bottom left corner of your browser. When you navigate inside one of your folder and repeat this action you can create subfolders to manage your data. Upload files
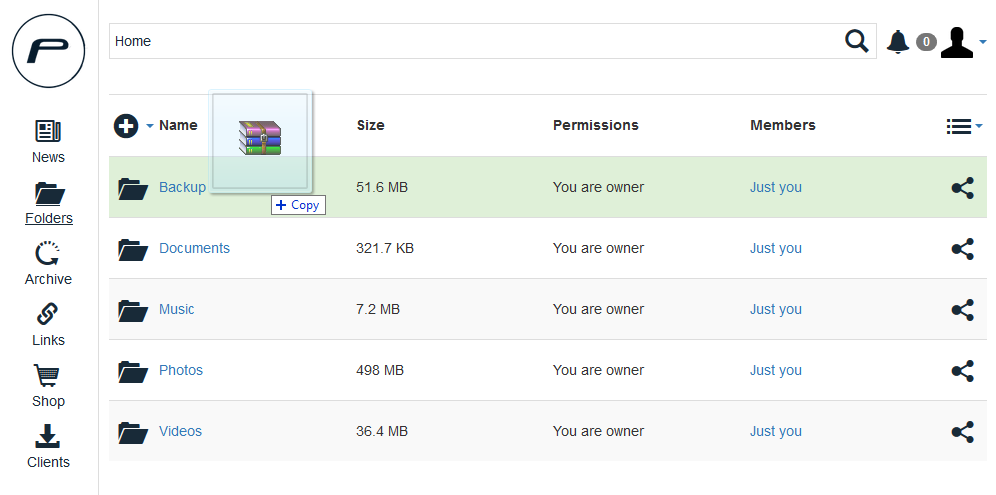
Our web portal allows uploading files directly into your folder. You can just drag some files from your pc and drop them on a folder or on the dropzone if you are inside a folder. While you move your courser above a folder or file the row will turn green if you can upload files inside. If it turns red an upload is not possible.
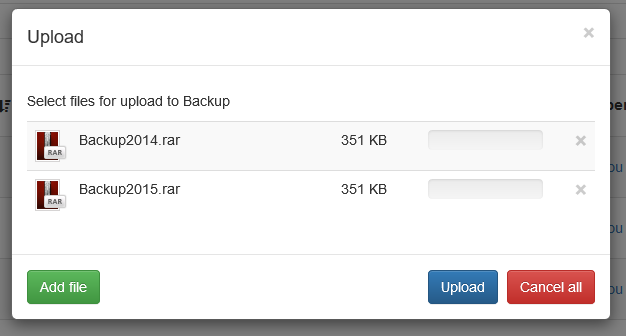
After you drop the file an upload dialog opens and shows the files that you want to upload. In this dialog you can either delete single files of that list, you can add additional files to your upload list or you can cancel everything. Pressing upload starts the upload of all files that you have chosen and a small bar indicates the progress and if the upload was succesful. Your uploaded files are instantly showing up in your filelist.
You can manually open this dialog when you open a folder and press on the dropzone at the bottom of the page.
Download files or folder
You can either download complete folders as zip files or you can download single files. Just click on the folder icon of the desired folder. It gets selected and a menu shows up at the top right of your folder-/filelist. You can select as many folders or files as you wish.
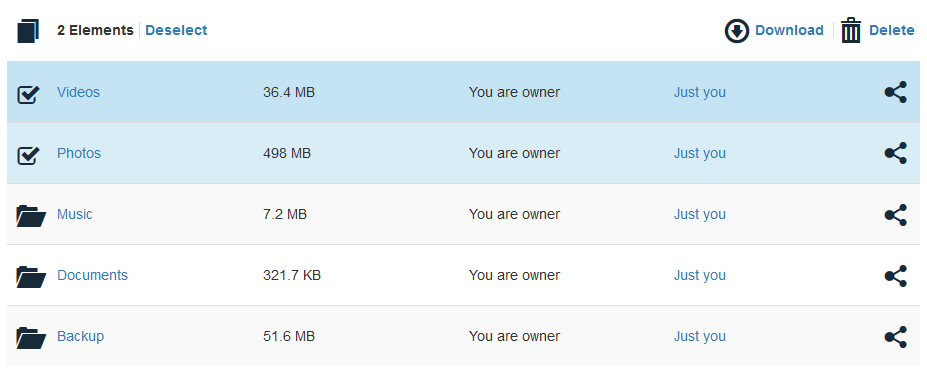
After selecting everything that you want to download just press the  Download button. If you selected multiple files or folder your browser might ask, if you want to allow downloading multiple files. If you don't allow it you have to download one file/folder after another. Download button. If you selected multiple files or folder your browser might ask, if you want to allow downloading multiple files. If you don't allow it you have to download one file/folder after another.
Action menu
It is possible to move, delete, rename or copy your files to manage your folderstructure. Selecting an element triggers a menu at the top right corner of your folder list. Some operation can be done with several elements selected and others are only possible when selecting a single file or folder. The following menu shows up when you select a single file

and the following menu shows up when you select multiple files 
- Download: Starts the normal download of the file.
- Rename: Opens a dialog to choose a new name for the file.
- Copy: Creates a copy of that file in the current folder. Opens a dialog to give the copy a new name.
- Cut: Sends the file into the clipboard. After pressing this the menu only shows
 Paste. Navigate to the desired location and press paste to move the file to that location. If you wish to abort just press cancel on the left side. Paste. Navigate to the desired location and press paste to move the file to that location. If you wish to abort just press cancel on the left side. - Restore: Opens the dialog to check for former versions and restore a former version of this file.
- Delete: Deletes the file.
Changing the view modeYou may change the view of your folders. Just press the  icon at top right and switch to the view mode you wish to use. This setting gets saved within a cookie. Deleting your cookies result in changing the mode back to default list view. icon at top right and switch to the view mode you wish to use. This setting gets saved within a cookie. Deleting your cookies result in changing the mode back to default list view.
List: The default view mode. Shows a list of all folder in the current location. Shows the most information for the elements.  Grid: Shows all icons next to each other with the folder title below. Grid: Shows all icons next to each other with the folder title below.
 Gallery: Only works with pictures inside the current location. Opens only the pictures in a slider. Gallery: Only works with pictures inside the current location. Opens only the pictures in a slider.
Sort optionsThe list of elements can get sorted by pressing the name of the chink that you want to sort. Pressing again revert the sorting option. A small arrow indicates in which direction the sorting option is used. 
Creating and editing documents
You have the possibility to create and edit documents only with the document editor OnlyOffice. Using the document editor is pretty easy. Just click on a document, a spreadsheet or a presentation in your folder and automatically OnlyOffice opens this document and gives you the possibility to edit it. Create new documents- Just press on the and then on the filetype you want to create.

- A dialog opens and asks for a name for your new file. After entering this and pressing on Save the online document editor opens and you can start creating the document.
Edit existing documents- Editing existing documents is very easy. Just press on the name of the document and a new tab will open with the document editor. There you can make changes to your file. In the top left corner is a disk symbol to save your changes. This will happen every few seconds.
- When you close the document editor your file is completely transfered back to your folder and will replace your existing file.
- It is possible to edit a file with multiple users at once. You will see where the other members are writing and can send chat messages to the other user to communicate with your team while editing the file.
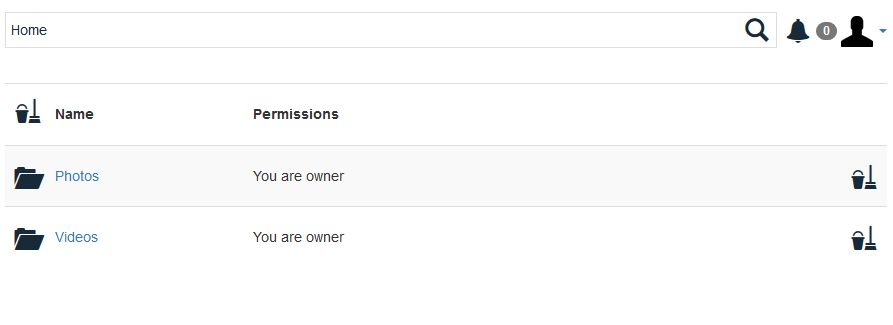
Managing file versionsPowerFolder keeps always track of the changes in files. Every file that gets overwritten is saved as a version. This function offers the oportunity to revert easily changes and resett the file to a previous version. - To show your available versions just press the button
 Versions. Versions. - All your folders that contains deleted files or overwritten files are showing up and you can navigate through those folders to search for the desired version.
Purging versions to free cloud spaceBefor a purge is taking effect the server ask you if you really want to purge the versions. 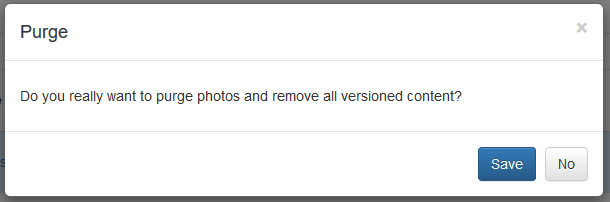
Purge erverythingTo purge versions just press the  at the top of the list to clear your complete versions space. This frees your cloud space but you also can't revert changes to any version before this action. at the top of the list to clear your complete versions space. This frees your cloud space but you also can't revert changes to any version before this action. Purge single folders or filesTo purge a single folder just press the at the end of the row of your folder. This will purge all versions stored within this folder. In our web portal you have the possibilites to see everything that happened easily. Just clickt at the left menu bar the  News icon. A page opens up, that shows you an overview on what happened inside your folder. You can see which files got deleted, which got updated and which got newly uploaded. News icon. A page opens up, that shows you an overview on what happened inside your folder. You can see which files got deleted, which got updated and which got newly uploaded. 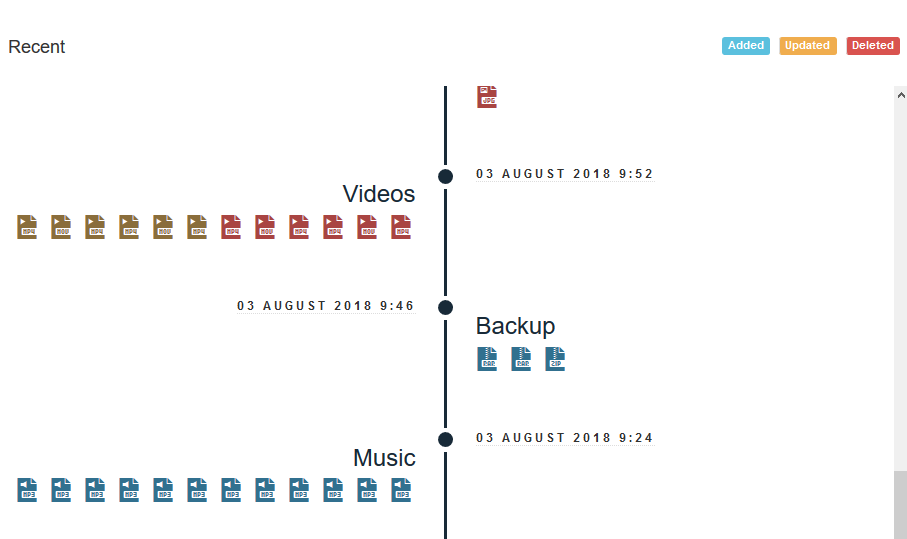
When you only want to see what you have done in your current session press the  icon. A small popup shows you what you have done in your current session. icon. A small popup shows you what you have done in your current session. |