Organizations
It is possible to create organizations as a premium user. With the organization you can manage all accounts inside the organization, create new accounts and provide folders for the complete organization.
Organization Dashboard
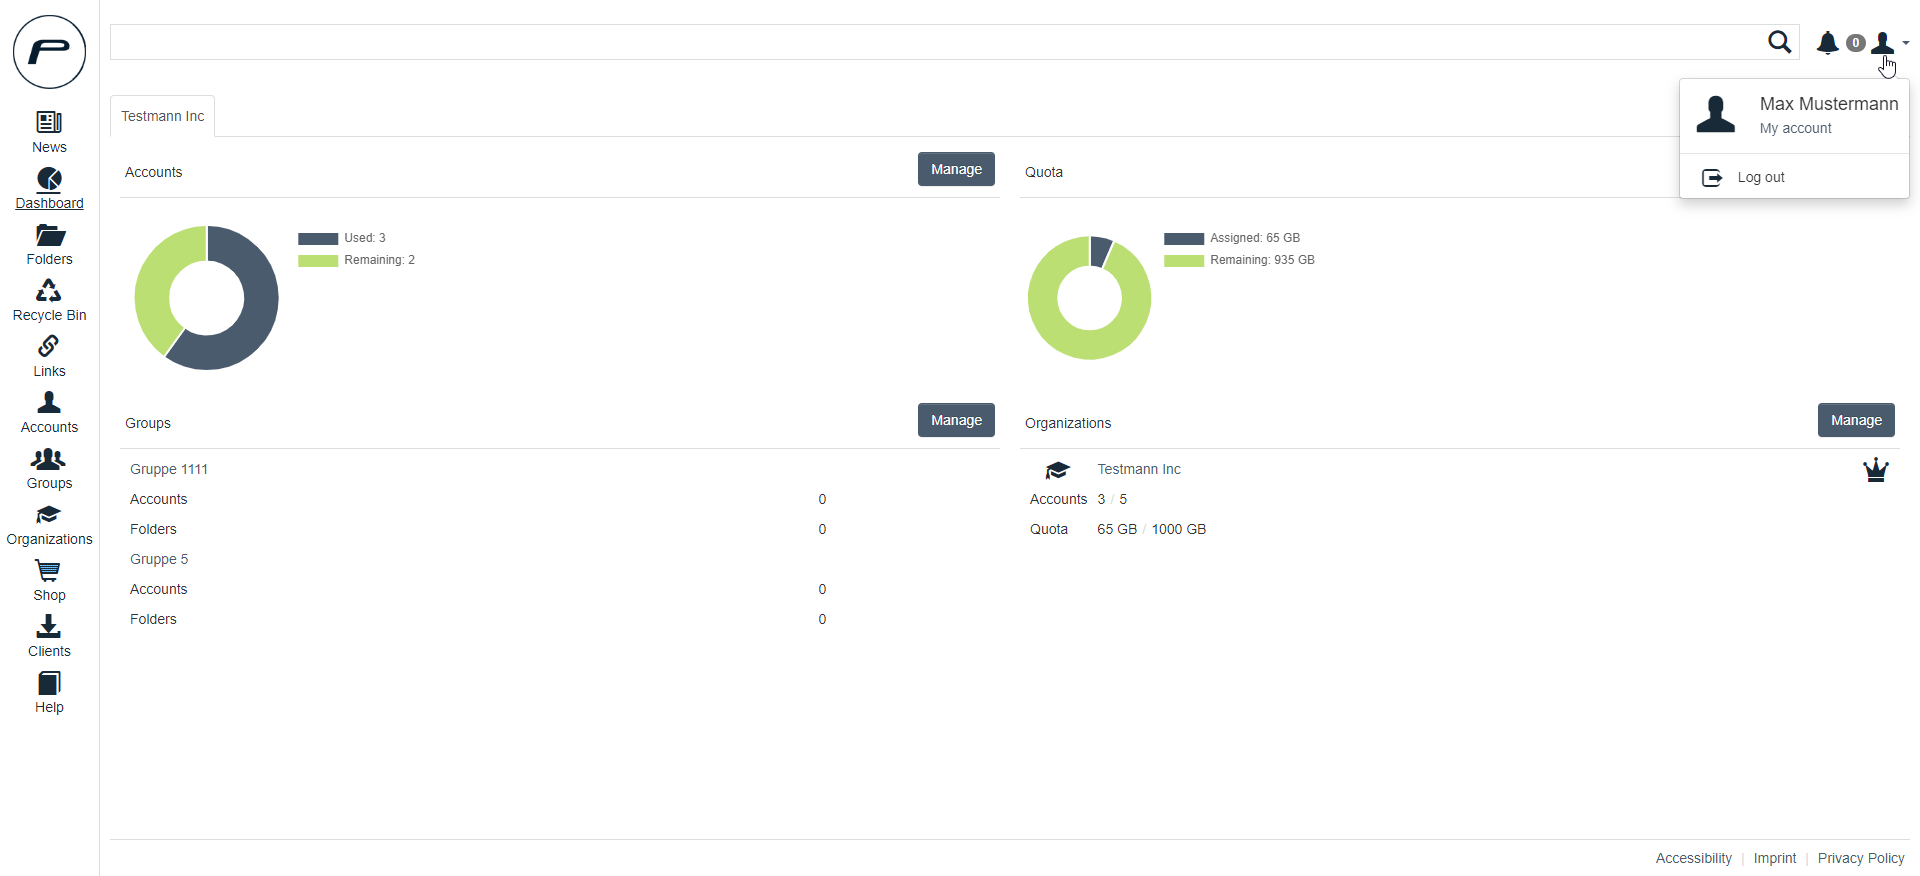
If you are the admin of an organization you can overview all important information about your organization in you dashboard. There you can see how many user accounts are used, how much quota of the organization is assigned to your user accounts and which groups are connected to your organization.
Editing the organization
When you want to edit the organization you can click on Edit on your dashboard beneath the heading Organization.
In the new dialog you can edit the settings as you wish. All changes to the quota are showing up in the bar at the bottom of this dialog summarizing how your changes are affecting your organizations quota.
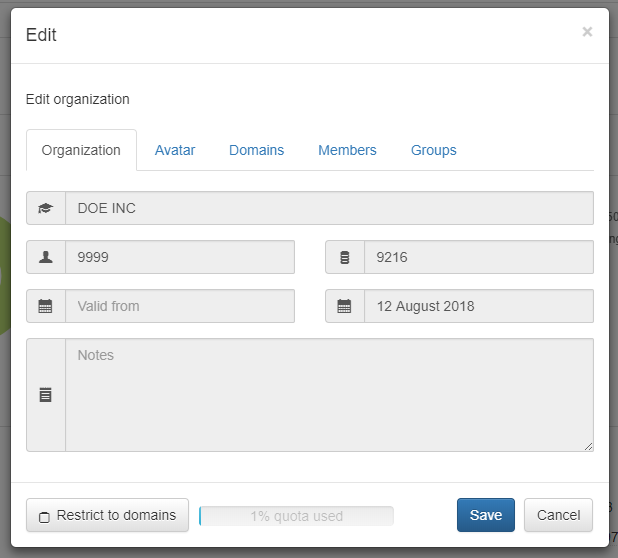
Organization tab:
In this tab you can't edit anything as an organization admin. Only admin with higher permissions can edit those details.
Avatar tab:
Here you can upload an avatar that represents your organization in lists.
Domains tab:
With this you can set your maildomains. It is possible to limit access to the organization by those domains.
Members tab:
This is a list of all members that are added to your organization with the respective permissions. There are two permissions possible: Is member and Is admin.
Groups tab:
Here you can add groups to the organization. All shares that are accessable for the group are also accessable for the organization. Sharing new folders with the group results in sharing those folder with the complete organization.
Creating/Editing user accounts
Creating a new user is very simple. Just press the ![]() and start entering the user information.When you want to edit an existing user just press on the accounts name.
and start entering the user information.When you want to edit an existing user just press on the accounts name.
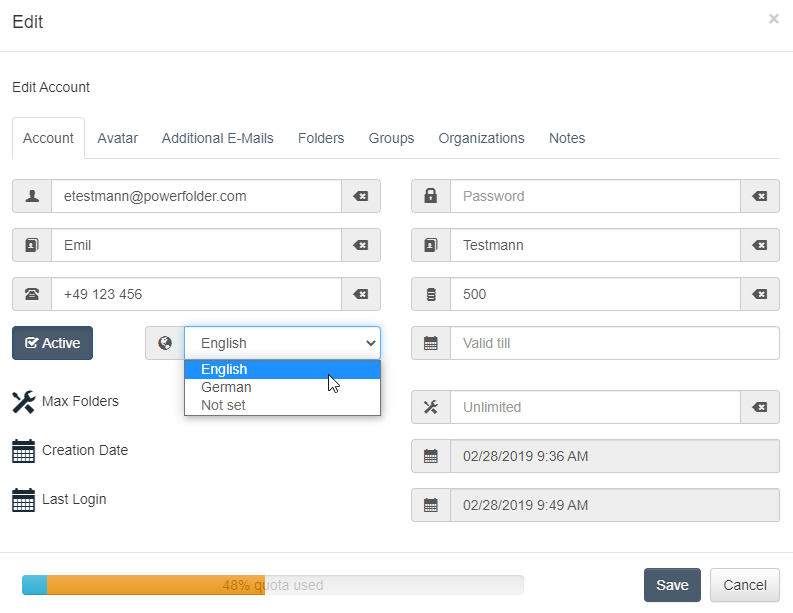
When you unmark the button Active the user is not able to log in. This can also get changed when a user already got created to remove access of the user to the cloud space.
Account tab:
- Username: This is the login name for the user. It is the best choice to use the users email address
- Password: Please leave the password field blank, then the user can set this through welcome email (If the admin set the password, user can also change this through "my account")
- First Name: This is the first name of the user. It will get used for the display name in the account overview
- Last Name: Similiar to first name this field gets used for the display name.
- Phone: The phone number of the user.
- Valid till: This is the expiration date for the user. If you have a temporary user account you can use this to limit the access to the service automatically by a date that you choose.
- Quota (GB): Here you enter the value of GB that should be available as storage space for the user. Keep in mind that it is not possible to assign more quota than your organization has left.
- Notes: General notes for the user account. You may enter every custom text.

Click on edit to open the account editor:
Emails tab:
- Here you can enter additional email addresses for the user account. They can get used to log in or to share files to this user.
Folders tab:
- Here you can create new folders for the user or assign existing folders to the account.
Groups tab:
- In this tab you can assign a group to the user or create a new one with the user assigned.
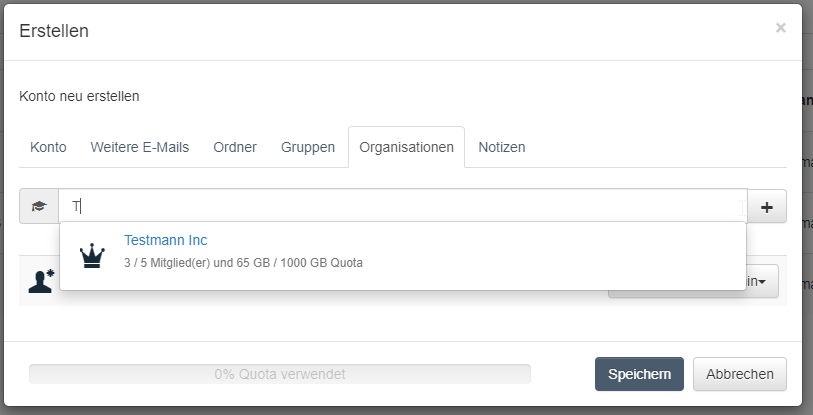
Organizations tab:
- This tab allows you to assign permissions for the organization to the user or add a second organization. (Keep in mind that this user will consume in both organizations a user slot)
- Assigning the organisation need only one key from your or user org name, please check the full name on admin dashboard and start to type, auto-complete helps you
- Give the appropriate rights (user or admin) and then save
- Admin should be a member of that org, if he wants to administrate (also the reseller admins)
- The reseller-admin is not a member of customer org
Import via CSV file
It is also possible to create the users via a CSV file. Please fill in the fields as follows:
- Field 1: E-mail address
- Field 2: First name
- Field 3: Last name
- Field 4: Organization
- Field 5: Storage Size in GB (Quota)
- Field 6: Custom
- Fled 7: Custom
- Field 8: Custom
Example:
test@powerfolder.com;Max;SampleMan;00000-OrganizationName;50;Random Note1;Random Note2;Random Note3;
Export users from an AD to a CSV file:
If you have your own Active Directory, you can export the users to a CSV file. For example via Powershell:
Get-ADUser -Filter * -Searchbase "OU=Testuser,DC=Company,DC=Com" | export-csv "c:\test\export.csv".
The relevant information for PowerFolder can be found above. For "Organization", please use the name of the affected end user organization from the PowerFolder. The quota is determined per user.
Please note that when users are created via the CSV, a password is not yet set for security reasons. However, logging in without a password is not possible. Because of this, the "Forgot password" function must be used for the initial login.
Managing users in an organization
As an organization admin you can add new users, edit existing users or delete users.
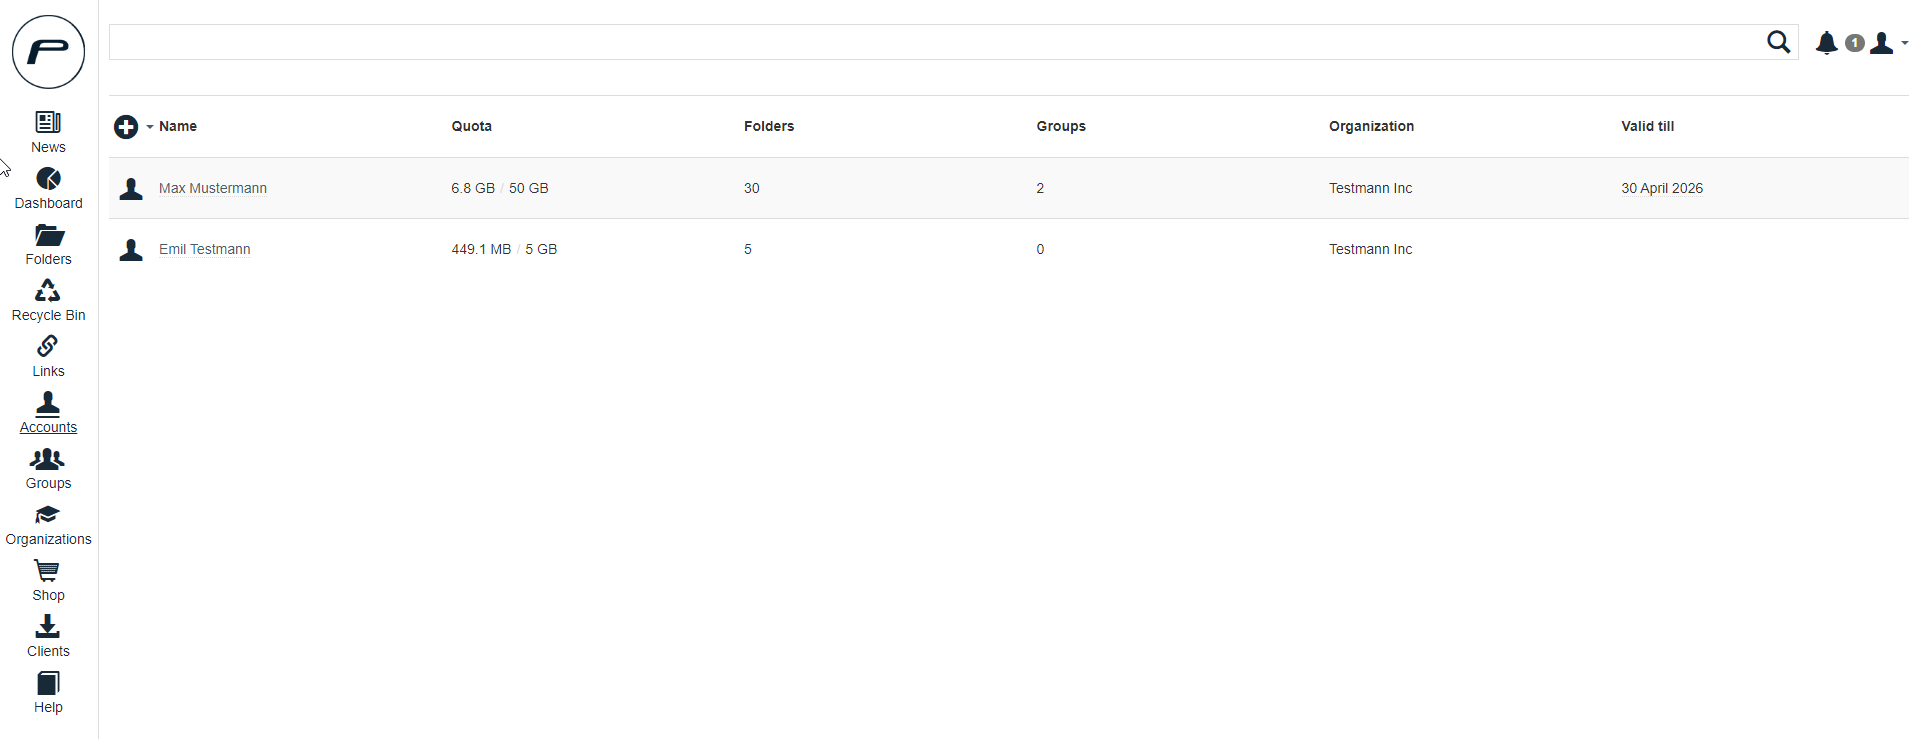
Select the desired user for more options:
Delete an account:
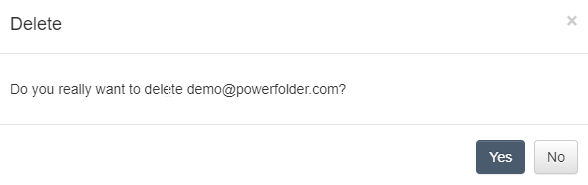
Important
Deleting a user deletes all of the data from him / her that can not be restored also all of the links and upload forms are unavailable, so please make sure that you as Org-Admin want to do so.
Individual Branding for Organizations
From PowerFolder Server Version 15.8.100 it is possible that the admins can create an individual branding for their users, existing organizations and also new organizations can use their own web branding with logs and color combinations for available options:
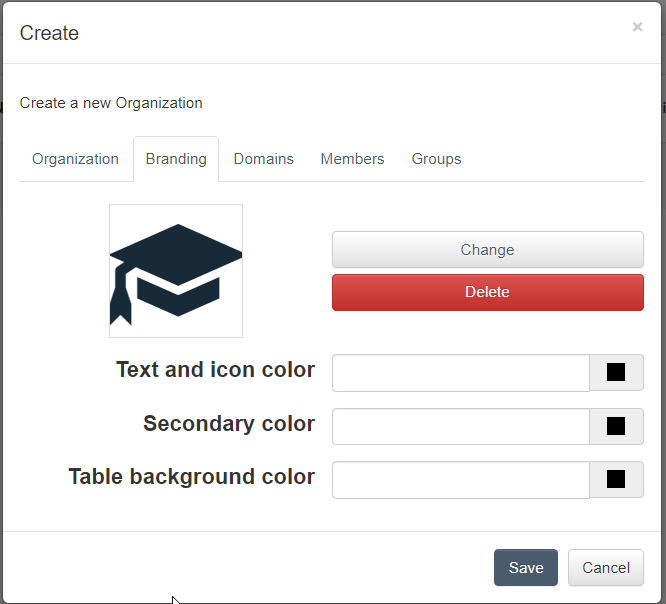
The admins can customize the branding for their users:
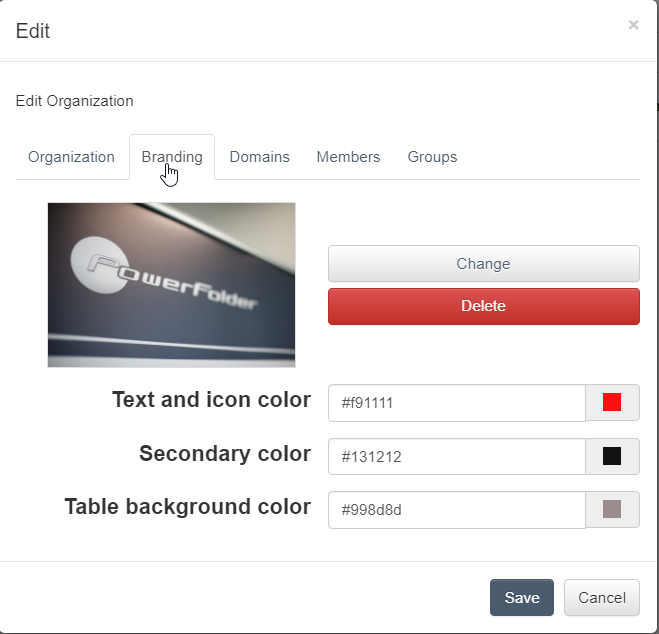
After saving the settings the branding is available directly and the user is directed to the landing page after login.
![]() Please reload the browser cache if the organization branding is not loaded in the web browser
Please reload the browser cache if the organization branding is not loaded in the web browser