PowerFolder enables users to create links to any files and share them through E-Mail, chat services etc. to everyone. Furthermore options such as setting password, limiting the number of downloads and setting an expiration date for your file link allows you to customize and better manage your data. The following article will explain to you how to create and use file links. Creating a folder or file link:- Access your PowerFolder web interface
- Log in with your account and navigate to the Folders list
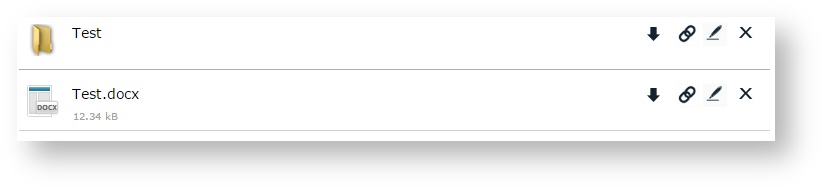 Image Removed Image Removed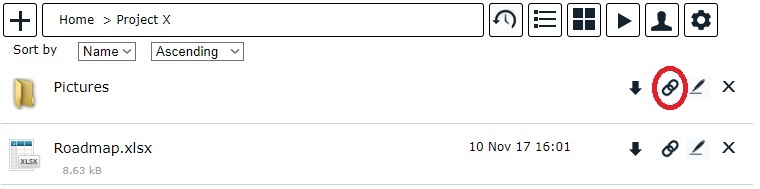 Image Added Image Added - Click on the get link icon
 - Afterwards you will be forwarded to the following new browser tab:
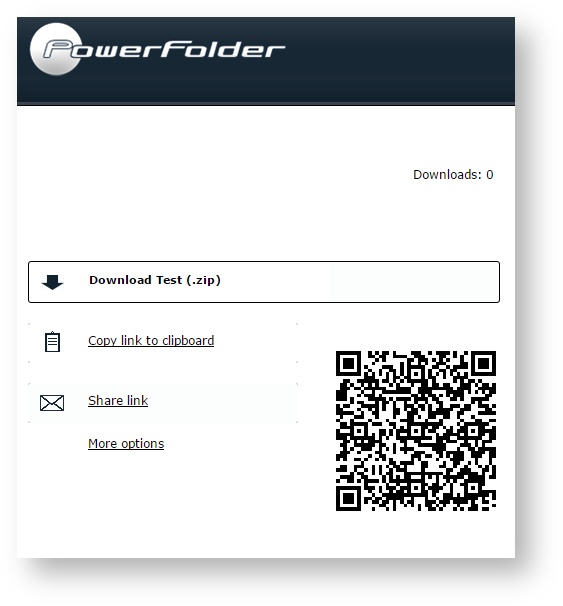 Image Removed Image Removed
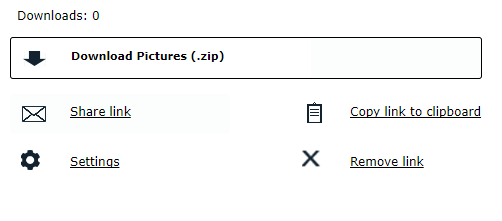 Image Added Image Added - By clicking on Copy link to clipboard, you can now send the copied folders folder or file as a link to everyone
Share file link using PowerFolder- Click on Share link after which the following will be displayed:
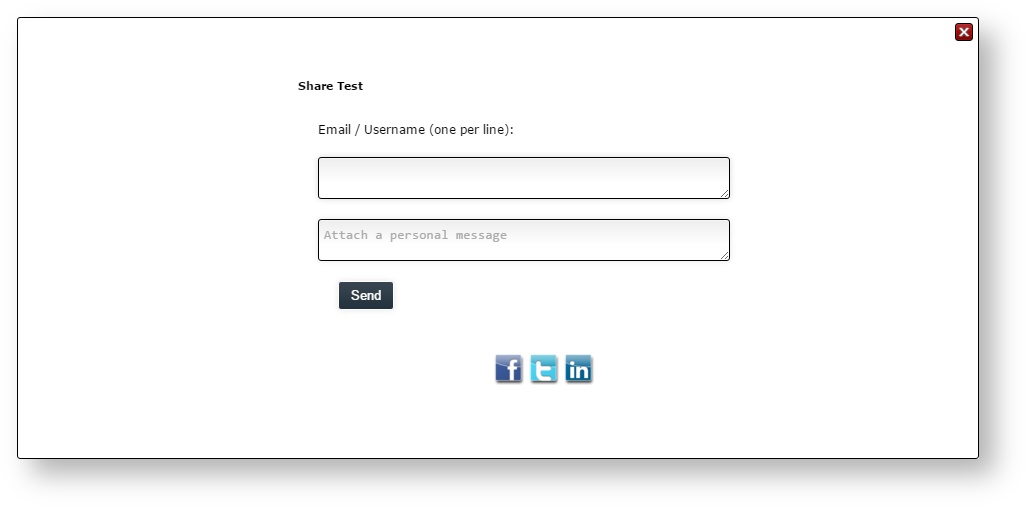 Image Removed Image Removed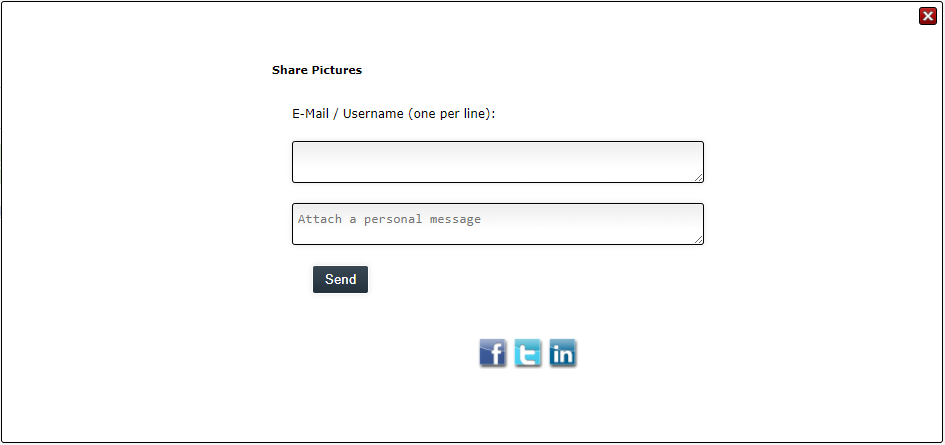 Image Added Image Added - Now you can directly send an E-Mail with your file link to multiple recipients by adding E-Mail addresses or PowerFolder Usernames usernames (one per line) in the top input field
- In addition you can also use your favored social network to share your file link
Further Adjustments- By clicking on More optionsSettings you can modify the file links to your preferences
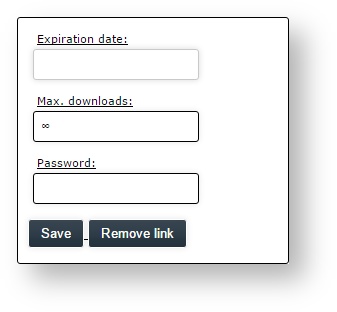 Image Removed Image Removed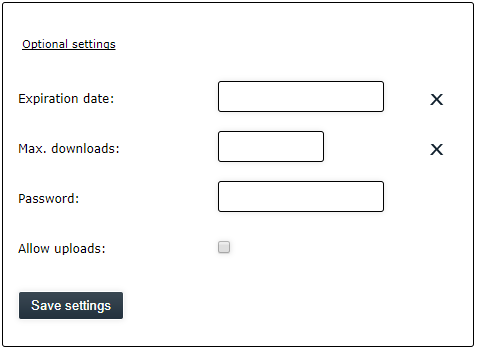 Image Added Image Added - Now you are able to apply Expiration date, Max. downloads and Password
- ,Password or Allow uploads
Allow uploads - By activating the check box the file link will become a Down- and Upload link.
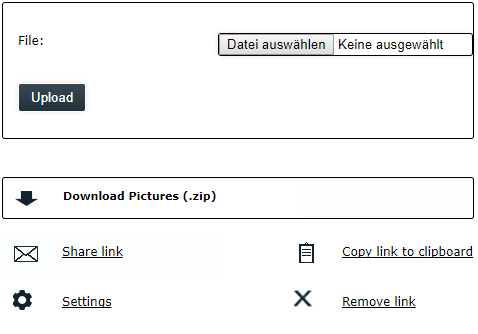 Image Added Image Added - Now everyone you share this link with can upload files into the folder that you used for the file link.
Managing the created folders or file links:- Access your PowerFolder web interface
- Log in with your account and navigate to the Links list
 - All links created by you will be displayed and you will be able to either delete the links or access it again by clicking on the link.
|